Thursday, October 30, 2014

Mini Asian Folding Screens and Haiku Poem Lesson


 Lesson coming soon!


Kimono Art Lesson


We started the class by reading Suki's Kimono. I used the projector and camera so all the students could see the pictures and follow the story. I asked them some questions about the story, like who gave Suki her Kimono, why was it special, etc. 


I then explained to them the parts of the Kimono, the fact that I was wearing my Kimono helped!


The students then followed my instructions and drew their kimono outlines. I record myself drawing, then play it back and stop after each step so the students follow. We have a program that lets us remotely control the computer using the iPad, it's called Doceri. That way I can walk around and help and keep an eye on everyone. 


This is the video I recorded for my students. Then I instructed them to add patterns inside the Kimonos. They were drawing with markers, no pencils in my clasroom!


The last couple of minutes we danced "Under the big chestnut tree" since Suki shared a dance with her class. I showed them the moves before, and explained the lyrics, then we danced with the song.


Under the big chestnut tree,
you and me,
are playing happily. 

For the next class, they colored everything on their papers, starting with the pattern, then the kimono and last the background. We danced some more at the end of class.


Torii Gate Art Lesson


Visit All about Torii Gates for more awesome pictures
Torii Gates are found in Japan to identify the entrance to sacred places. Since I made a Torii gate out of paper in my class room I thought it would  be fun to have a lesson so students would understand what it is.

Torii gate in my classroom.


I started the lesson with this presentation, discussing the importance of Torii Gates and where they are found. Students observed and commented on the appearance, colors, etc. 


Students were very interested in the Torii Gate from Miyajima Island so I found a video that tours the island temple.


With all the information learned, and the images in their minds I showed students how to build a mini Torii Gate out of craft sticks. Each student needs 4. When they were done, we left them on the side to dry and started the mountain and the temple. The stairs were a bit tricky, but most of them got them right. I then let them add details to their landscape. Some asked if Godzilla was Japanese, so they added him to the drawing. Others remembered cherry blossom trees and added those, while others wanted to do a sea to imitate the Miyajima Torii Gate in the water.


Next class, they colored the Torii Gates since they were dry, and they were careful to only use colors real Torii Gates have: red/red-orange, brown (wood) or gray (stone). Once their drawings were colored, and their Torii gates dry and colored they glued them to the paper.


Some classes didn't have time to create a craft stick Torii Gate, so I showed them how to draw one instead.


Monday, September 15, 2014

Be art smART! ~ Art classroom rules.

Here are my very simple classroom rules, I have the kids read them out loud with me every time they come in my classroom. First thing we do is come in, sit down on the floor, read our learning statements and say our rules.

Art room rules

I made this my computer background so I just minimize all my open programs and we can read it together.

Happy art teaching!


Sunday, September 14, 2014

No paper art diagnostic test

I work at a school that had no art before I came, so I wanted to test the student's knowledge of art the first day of school. There are around 700 students and I see all of them. I didn't want to be making copies of a diagnostic test for all those students, and I sure as heck didn't want to grade them. What I  wanted was to know what the kids knew right on the spot.

Enter MRS (multiple response strategy) and a PowerPoint. All I needed was kids, a projector, a computer and my presentation. Zero papers to copy or grade. This is how it went:

  • I wrote down 10 things I thought my students should know about art concepts and turned them into multiple choice questions. I numbered the answers 1-3.
  • I made a PowerPoint presentation introducing myself ( what I liked, where I studied art, some of my drawings, etc.). I also included the class rules. Then in the same presentation I added the questions and the multiple choice answers. After each question I made a slide for the correct answer.
Letting them know we were going to take an art test. ;)
  • During class I introduced myself and the class rules. Next I told the kids they were going to take a test, the look on their faces was priceless. I explained it was a diagnostic test to see how much they knew about art concepts. I told them we would do the test together and we didn't need paper or pencil to take it. 
Question
  • The diagnostic test: I read the question out loud, then read the answers. I asked the students to put up one finger if they think one is the correct answer, put up two fingers if they think two is the correct answer, or put up three fingers if they think three is the correct answer. I gave them time to think for 5-7 seconds, and let them know everyone had to choose an answer in order to reveal the correct number. Tip: You can read the question one more time before revealing the answer. Repeat with the rest of the questions. Reinforce that they show you the answer not say it out loud.
Answer

  • As the students got the hang of it the pace increased, they would also be looking around to see who else had the same number up and encouraged everyone to participate so they could see the correct answer.
  • I looked around to see who had the correct answer, the signs and grunts let's me know who didn't get it right.
I hope this idea inspires you to try a new way of assessing student knowledge without making a paper and pencil test.

Happy art teaching!

~•~•~•~•~•••~•~•~•~•~•~•••~•~•~•~•~•~•~•~•••~•~•~•~•~•~•~•~•~•~•••~•

Here are some questions you can use for your test:
  • What line goes from top to bottom?
  • The primary colors are...
  • A triangle is a...
  • What materials would you use when making a painting?
  • Cool colors are...
  • Which of the following is a color wheel?
  • What is the first record of art made by humans?
  • A portrait is a picture of...
  • Which of the following is a gray scale?
  • Which of the following is a brayer?
  • What is a sketch?

Saturday, September 13, 2014

Classroom tour

I haven't taken a lot of pictures of my room but I thought I'd share what I have :)
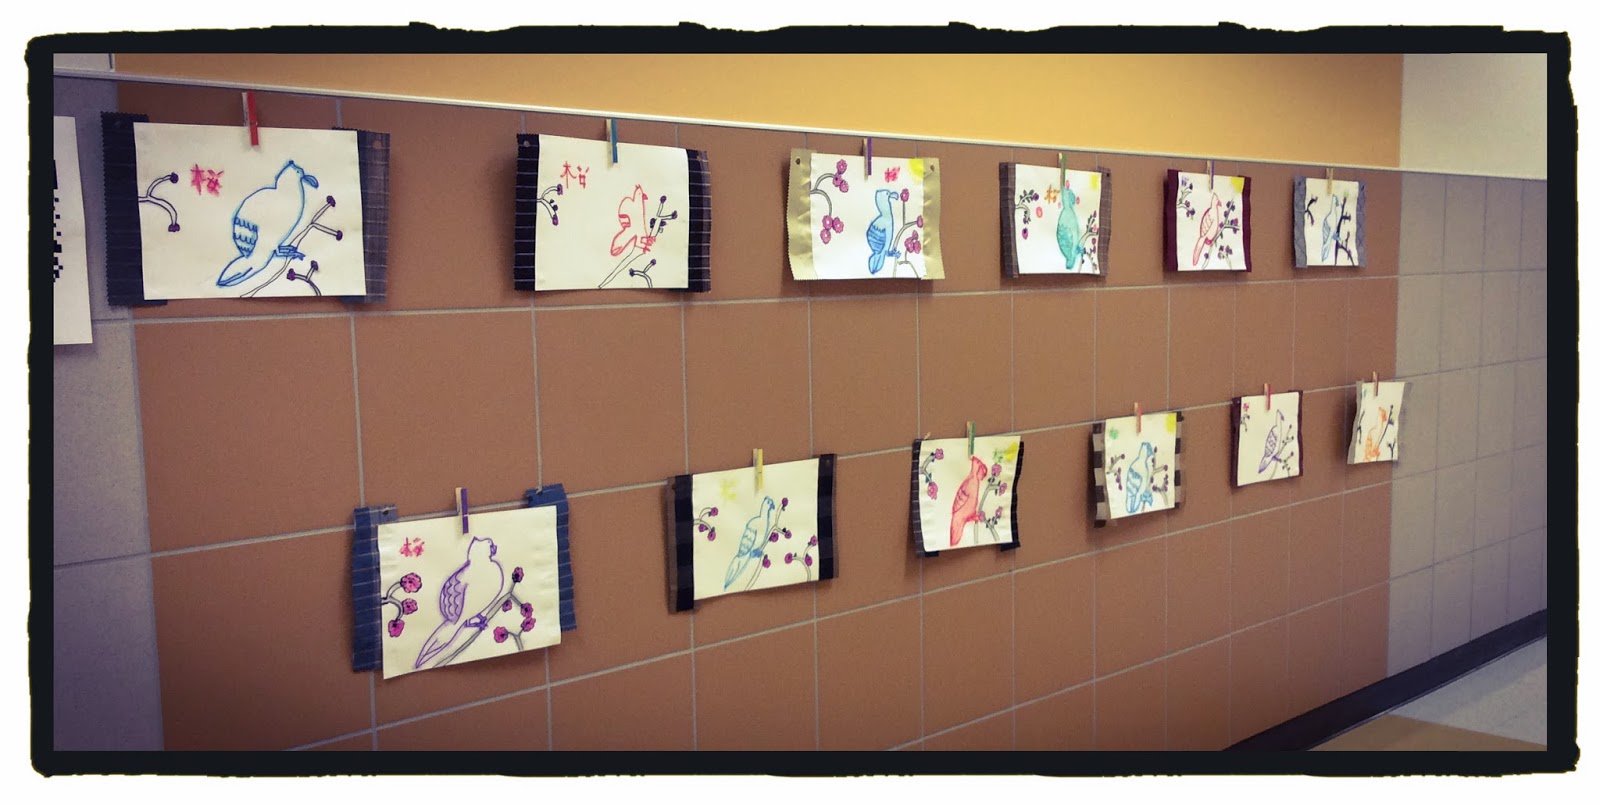
Outside display
These are the works outside my room right now. The building is new and we want to keep it nice, so we are not allowed to staple things on the walls. I don't have a display board outside so I improvised by buying command hanging strips and using wooden clothespins I already had.
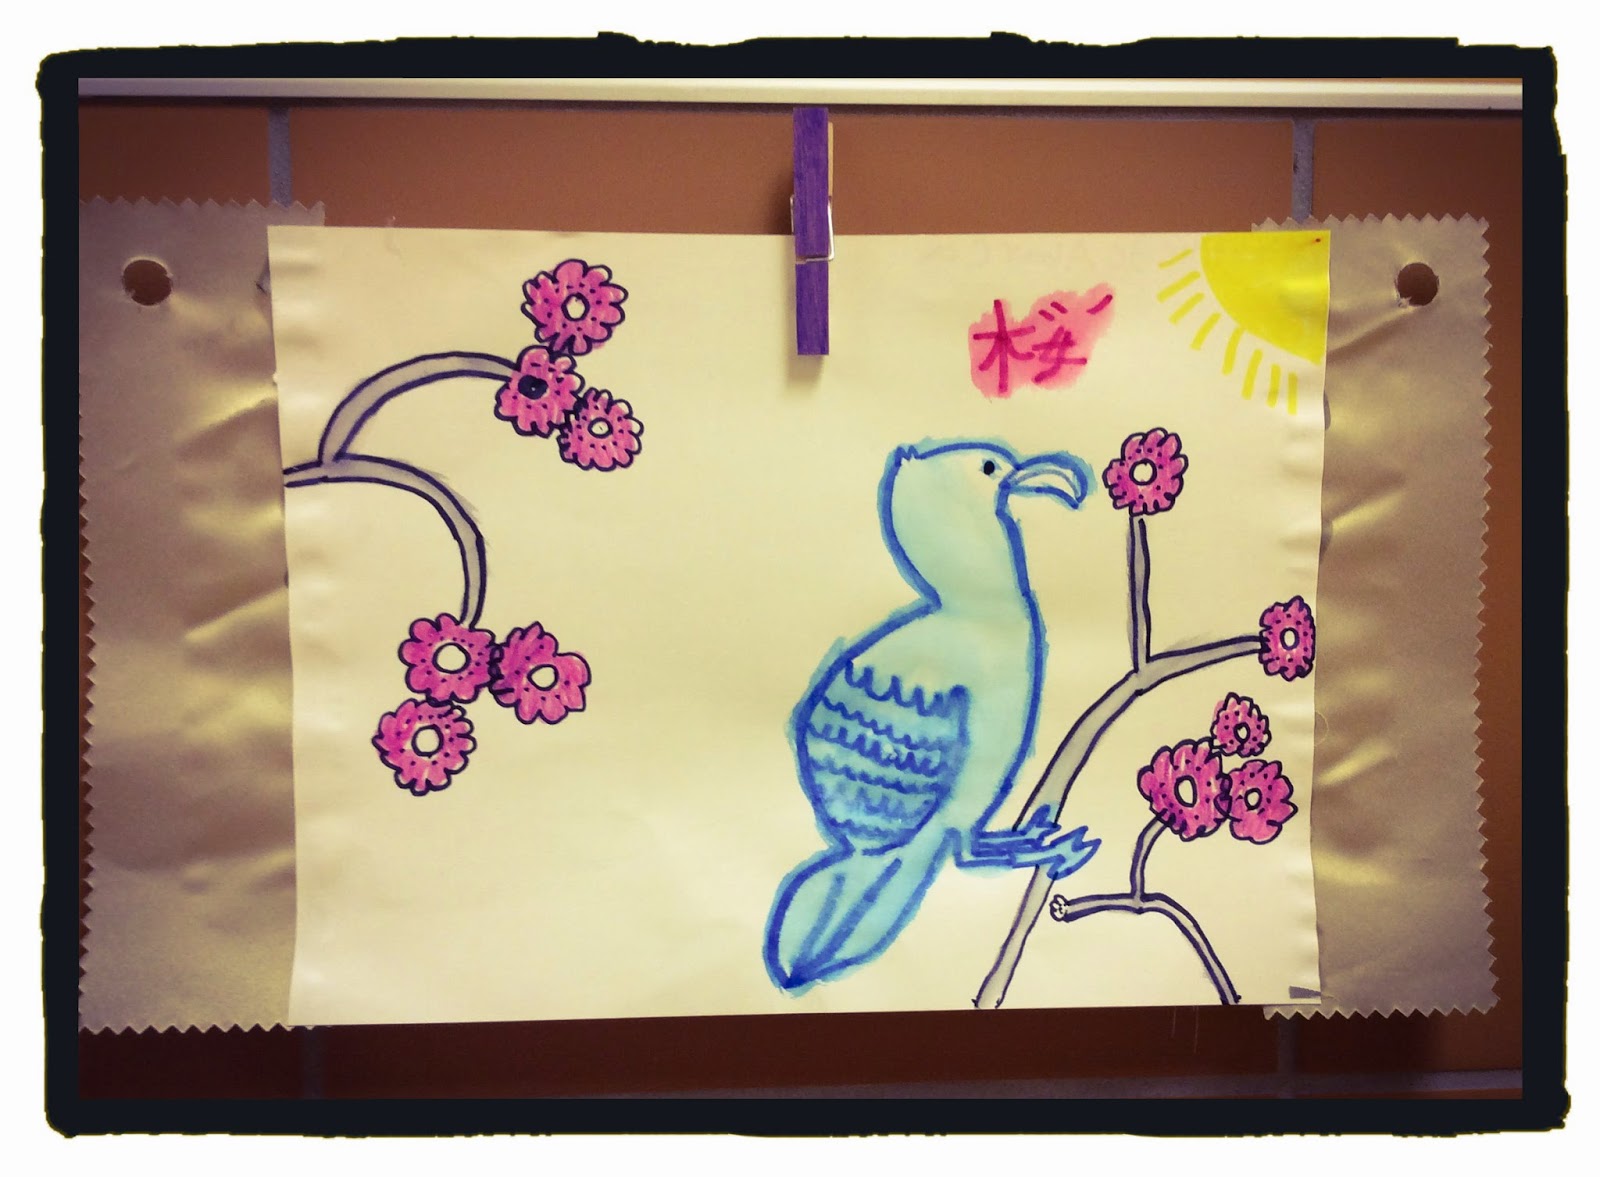
Kakejiku inspired work
Last year I painted the clothespins with tempera paints, this year I just attached the command strips to the back and they have been holding on so far.
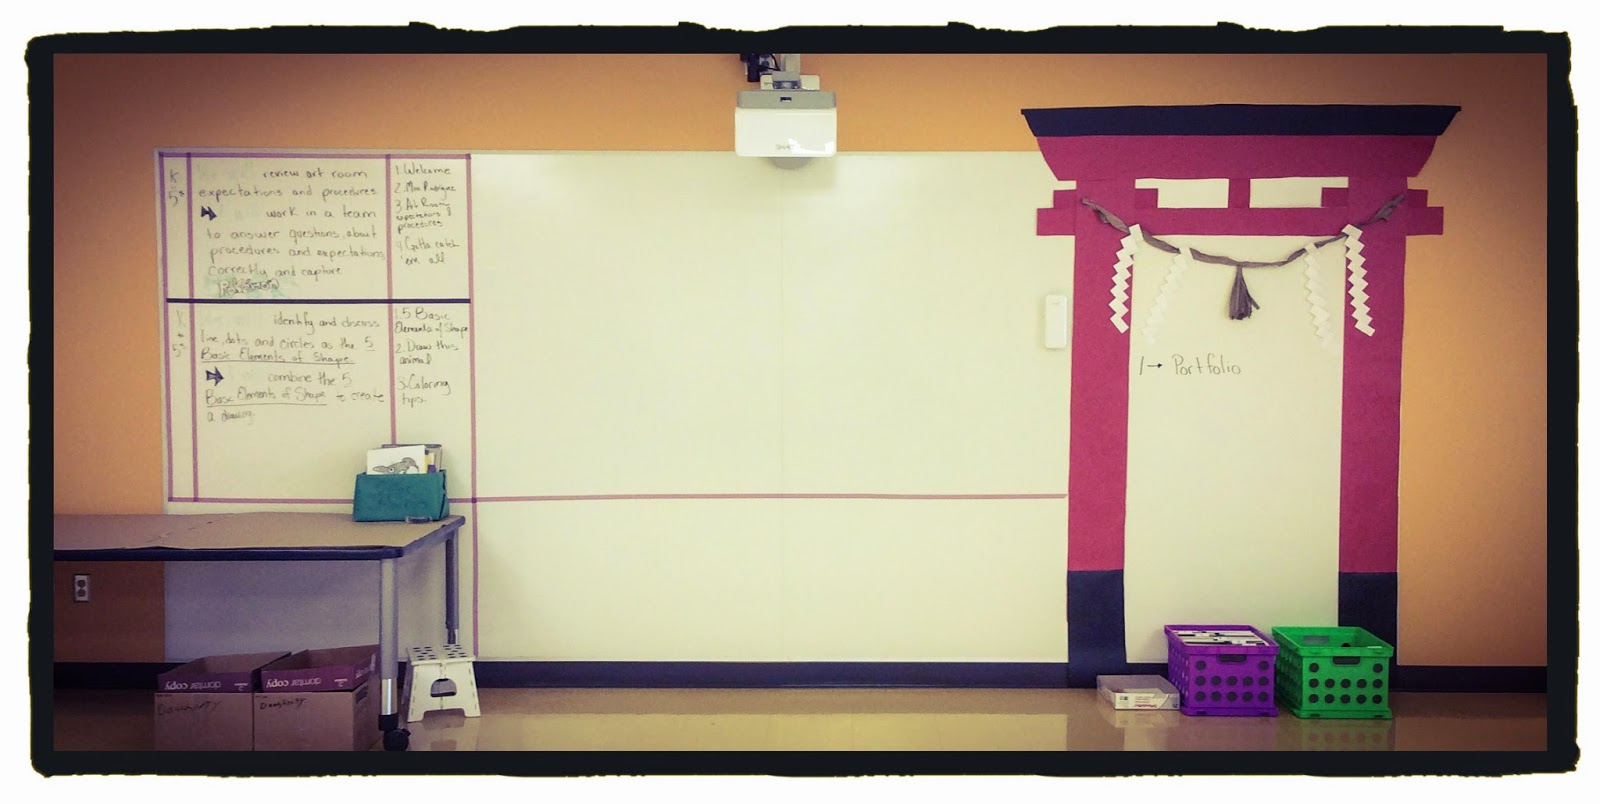
Front of the room
This year I'm focusing on Asian art so I tried to add elements in my room. On the right side of the board I made a Torii gate out of red and black craft paper. It took me about one hour but it was very easy, this is where the classroom jobs and student helpers are posted. The two baskets below hold the students works in hanging folders for each table and grade. One for Tuesday-Thursday groups, the other for Wednesday-Friday groups.

On the left I made a there column table for the weeks objectives using pattern duck tape (the small kind that's the same size as regular tape). The first column is for the grade level, the second column is for the " we will..." and "I will..." statements, and the last column is for the agenda. 

I left room in the center of the board for the projector and marked the space that was left on the bottom to use it later for posing works or other important things I'd like to have in the front.
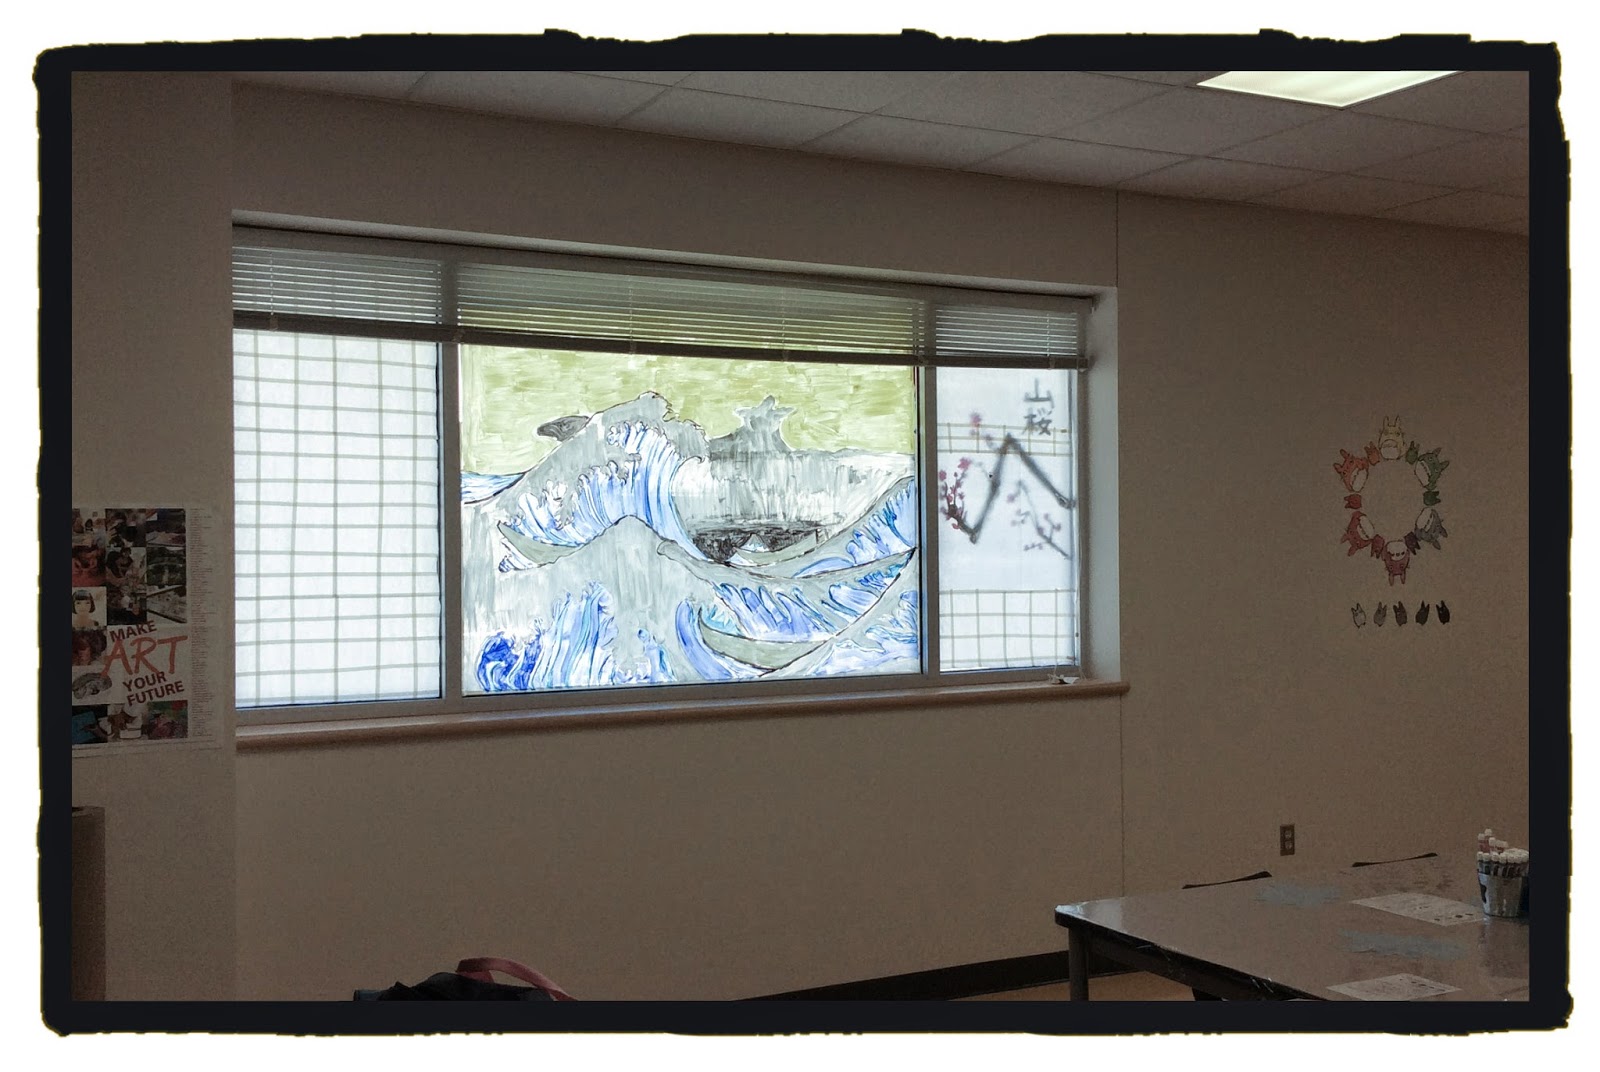
Window painting
Staying with the Asian theme I painted the Great Wave by Hokusai on the window using a tempera \liquid soap mix. It still needs more details.

On the right I made a color wheel and gray scale with characters from Totoro.
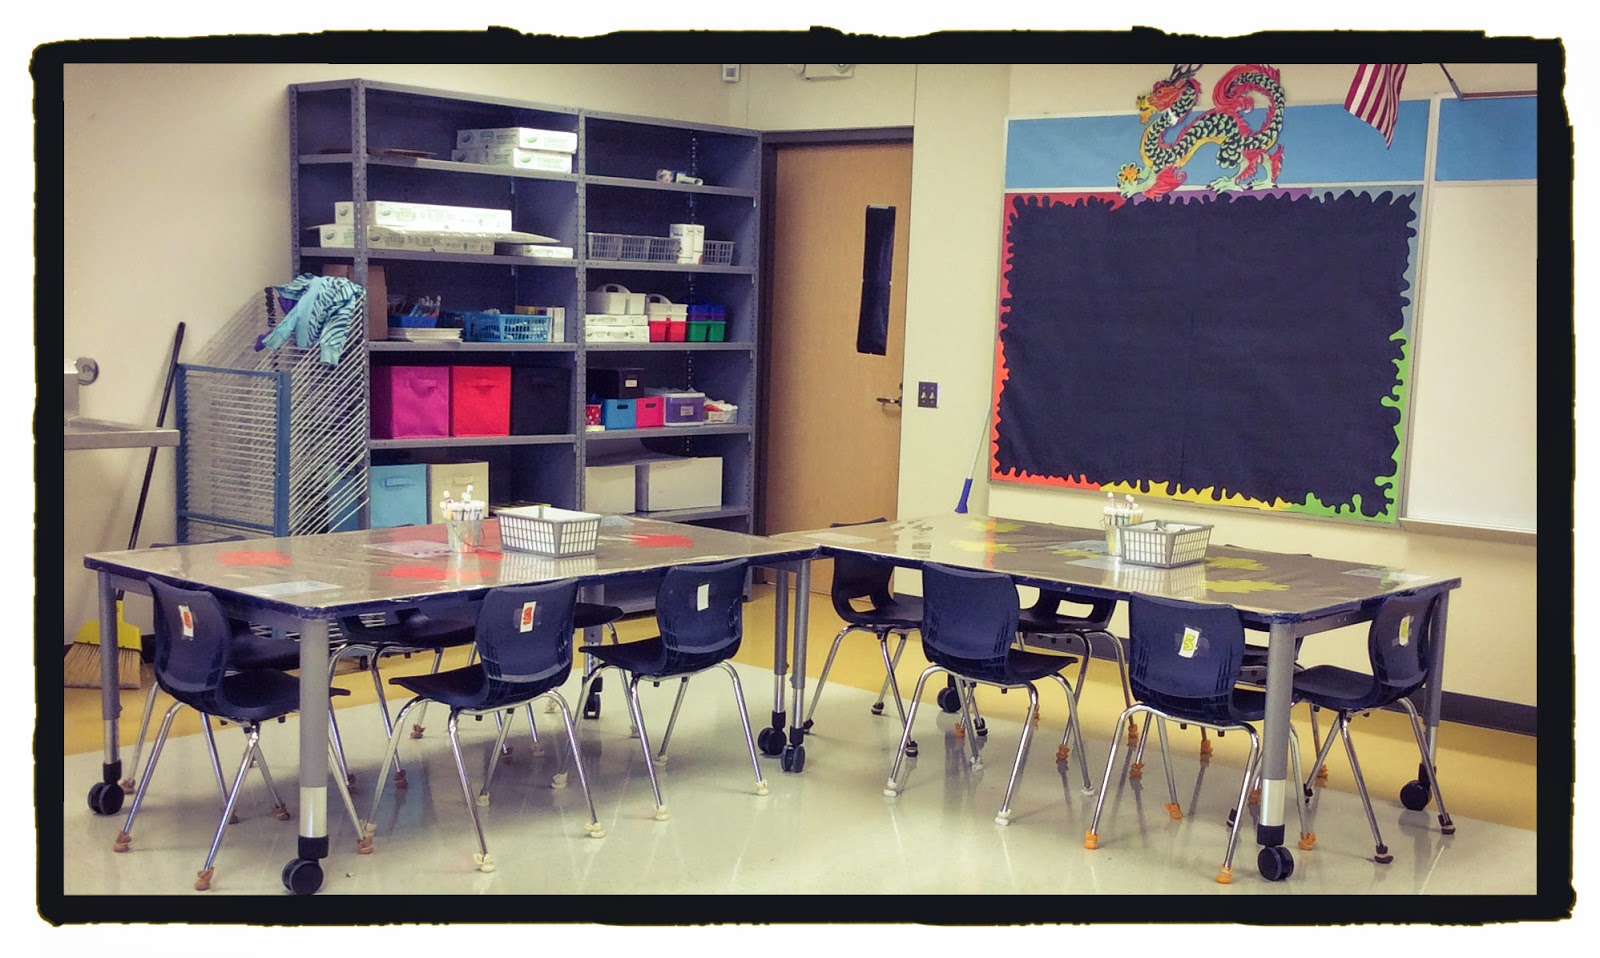
Table organization

This year I wanted an open space in the center of the room to sit down with the students or use for activities. So I organized the tables in "L" shapes. Each table has a color and each chair has a number from 1-6. I assign helpers based on their number so there always kids responsible for collecting materials for their table.

That's it for now,
happy art teaching!

Tips for new art teachers and art education students.

I like to imagine I was ready for my first year of teaching art. The truth is I was fresh out of college and was hired the day before school began so I had no time to prepare anything ahead of time. I struggled to get organized and motivated, my first year was tiresome and overwhelming for many reasons. Now I look forward to the start of the school year because I feel more prepared and confident. Here are some things you can do make your first year a success:


  1. Do spot observations of a veteran teacher, if possible an art teacher. Make sure they are quality teachers and not just experienced. Notice how they address their students, how the classroom is organized, how the students behave, what the teacher does to engage the students and how classroom jobs are distributed. Take notes of how the teacher calls for the students attention and in turn, how students get the teachers attention. I was made to do observations as a student teacher but never saw a quality art teacher at work, take advantage of the opportunity and seek a good teacher to observe and it won't seen like such a bother. :)
  2. Learn what students like. Watch an episode or two of the newest cartoons, learn about gaming consoles and video games, listen to the music they listen to, see what new movies are showing that your students would watch. Students feel more at ease with grown-ups who (at least try to) understand them. Some of my most successful lessons incorporate things I know my kiddos are into.
  3. Decide what kind of students you want. Students respond to your expectations of them, so raise the bar high. What is your idea of a "perfect art student"? Write it down and decide on a set of rules based on your expectations.
  4. Guide the students during the first lessons. Find an image that would be easy to reproduce and make a simple drawing combining basic shapes and lines. Figure out the steps needed to make the drawing and break it down. During class have students repeat each step to create their drawing. This will give you a sense of who's a good listener, who struggles with basic lines and shape, who should be moved to another seat because they get distracted easy and who's going to be a great artist! Give the students crayons, oil pastels or markers to draw, keep the pencils for now. I had too many kids waste time erasing every time we made a step, eliminate the problem before it happens. Let them color it and observe who needs help with their coloring skills, pencil grip, etc.
  5. Have activities for early finishers. I'm not a big fan of " free draw ", make it more structured by providing how-to-draw books or handouts and newsprint paper. I made copies of books from the school library and bought more books from the local discount book store. The kids love the dragon books, and the anime and cartoon books. I let them pick a book and get a paper, they know not to draw or color the books because I stress it all the time, always remind them.
  6. Have students help. There is no need for you to take care of everything when there's lots of eager hands to help. Figure out a system that will work for you. In my room every student has a chair number, when I call that number they know I'll give them a job. Taking the table's crayon box, or picking up the table's papers and placing them in the correct spot, etc. 
  7. Brake everything down into manageable steps. If you give students too much information they will get overwhelmed. Instead, break down that big project into steps, don't go to the next step until everyone's on the same page, that way you also make them accountable for their time management. This is extremely helpful for the lower primary grades. Painting? Break the process into steps, mine is: water-sponge-color-repeat. I review steps every time we paint, even if we did it last class.
  8. Be consistent. If you let one kid do something they will all want to do it. This is specially true of bathroom breaks and water breaks. I make a point of letting them do that at the appropriate moment, when they are working independently, not during instruction. 
  9. Be patient and understanding. These are people, with their own personalities and quirks, they are not all the same. They need to see you as a person who they can depend on and trust. That doesn't mean you shouldn't discipline, it means you should try to understand their behavior to give them the correct feedback given the situation. 
  10. Communicate with parents. Send out art newsletters along with the regular classroom newsletters so they know what you do. Take pictures and upload them to the school's website along with a short description. Call parents to let them know their kid is talented! 
  11. Don't become the schools decorator \backdrop person. This is a hard one.... Remember you are there to teach, not to make murals for Valentine's day. When you are approached just kindly tell them you are busy prepping awesome art lessons for your kiddos, or you are busy prepping for the annual art show,etc. You don't needed to lie, we have tons of work just like regular classroom teachers. You can offer them suggestions on how to tackle the project. If they insist you do it, ask for a sub to cover your classes for the time it will take you to complete the project since your time outside of school is precious personal time (that you use to plan more lessons hehehe).
  12. Organize your ideas. You will want to do a billion cool things, make a board on pinterest or a favorite folder on your browser specifically for art education. You can make categories by art medium, art elements, grade level, etc.
  13. Try new things. My principal always says "the worst thing you can do is try something stupid with the students, then you learn and never do it again." Don't be afraid to take risks, after all, this is not your grandma's art class. Find an engaging game online, look for funny or silly internet clips, make up a song, get up and dance, use iPads, etc. Inspire your kids and crate a safe, fun environment for art making.
These are just some of the things I wish somebody had told me on my first year, or when I was a student teacher. Talk with colleagues, ask them how their first year went :)

Happy art teaching!